
Telephoning actually is something quite strange: You hear voices, but you don’t know whom they belong to. You say something, but don’t see the person opposite frowning in doubt. In telephone conferences it even is more chaotic because you don’t notice when someone breathes to start talking. Video conferencing is a more natural way to have a digital conversation. But because telephony has been around for over 100 years, it has always been difficult for video meeting tools to prevail.
However, today, as the coronavirus is messing up our daily lives, videoconferencing is showing us its true potential. In a time where social distancing is our way of life, video brings us the social proximity we need right now, albeit just a little.
Kopano Meet is one of many video meeting tools. However, its setup makes it more secure than most of its counterparts. This blog post describes how to use Meet in three steps.
Please note that this how-to post is about using Meet instances that are installed on your own server and not about the free Meet edition we built for people to use during the Coronavirus crisis.
Why Use Your Own Server And Where Do I Get It?
You may wonder why you should use Meet on your own Meet-server when there is a Meet-version publicly available? Well, here’s why:
The system provided by us at splash.meet-app.io is open to everyone. The meeting rooms created here can therefore be used by anyone who knows its addresses. It is like being in a café on a sunny Sunday afternoon: Here, people talk at a table and – even if it would be highly impertinent – someone could simply sit down next to them and listen in.
Sometimes however, there are things you do not want to discuss in public, but privately, behind closed doors. That’s where your own Meet-server comes into play. A dedicated Meet-server provides these closed doors. Here, everyone has a username and password. Rooms can be open for guests, but they don’t have to be.
You can install your own server as Univention-App or you can use our Docker-Image. But since the setup requires some infrastructure and know-how (it’s all about real-time data and it should be reasonably secure), you should let your own IT department or the trustworthy IT tinkerer next door do this.
As soon as you know the address of the server, its username and password, you can start.
Learn How To Use Meet In Just 3 Steps
Step 1: Access Meet
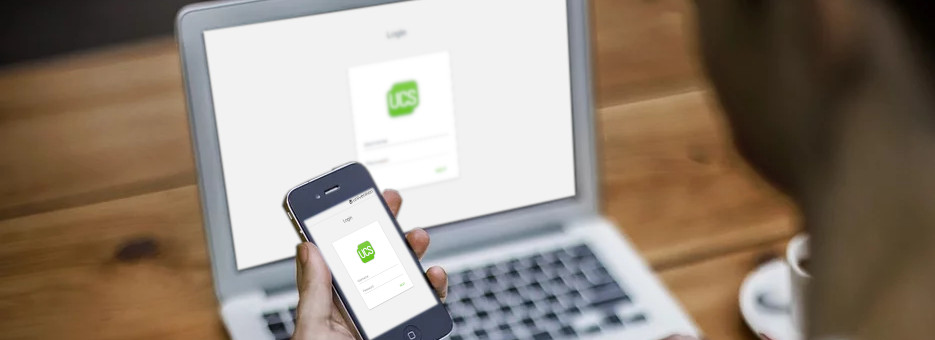
First of all: The login screen may look different than the one you see on the picture, but it’s the first screen you see. For users who are working in larger portals where Kopano Meet is integrated, this screen may appear much earlier. We use OpenID Connect for Meet. It’s like using the typical “Log in with Facebook” or “Log in with Google” button, but without the data leaving your organization.
After the successful login the actual Meet application appears:

Here, depending on how often Meet has been used, a few things can happen:
- The system asks for access to the camera and microphone
Of course, the webcam cannot be switched on just like that, and neither can the microphone. That would be fatal, even though it is essential for a video call. To make sure that you really want to do this, your own device (Smartphone, Tablet, PC, …) asks once. It is important to allow access here. In the program itself, you can turn off the camera and sound at any time using its functions later on.
- Meet offers to be installed as an app
Meet is a so-called Progressive WebApp. This means it can – simply spoken – place a bookmark on the start screen of your own device, which makes it easy to start later. If you want to use the Meet server more often, this is worthwhile in any case.
- Meet asks if an update should be installed
Software changes constantly. New functions are added, errors are fixed or security is improved. All this happens on the server. If this happens, Meet must be updated on your own device. In this case it asks for this. An update usually takes a few seconds and should be done by all means.
Step 2: Start a Call

If you press the small green phone icon in the Meet app, a list of users being on the server opens. You can now call them directly. Or you may use a room. I would like to describe this in more detail here.
As already described in my previous blogpost Meet is not just a phone with video-functionality. You have to make an appointment at a certain time and then you usually meet in a room. The Meet server is like a virtual house with an endless number of such rooms. You create a room (in the app we call it “group”, but I actually find room more suitable) by first selecting the green phone icon and then selecting “Enter or create group” in the dialog that opens.
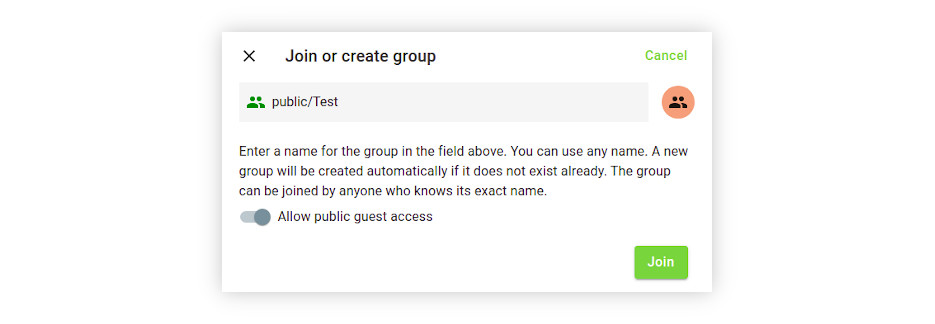
Here the group is first given a suitable name. For testing, nothing fits better than “Test” ;-). At the bottom of the dialog there is a button that allows public access for guests. If this is activated, Meet will put a “public/” in front of the room name. We need this for internal processing. In fact, this function means that anyone who knows the address of the room can join the meeting – no matter if you have access data or not. With a somewhat more cryptic name of the room, this risk can be minimized somewhat.
A click on “Enter” opens the room.
Step 3: Enter the room
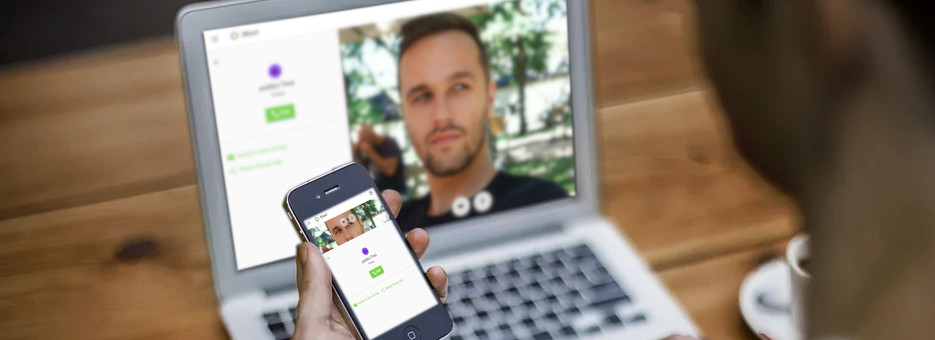
You are now standing at the door of your own room, so to speak. To enter it, you have to press the green “Call” button. But first of course others have to be invited into this room. This is done with the function ![]() Share Link. If you select this, the address of the room is copied to the clipboard. It can then be copied into an e-mail or a messenger message (PC: Edit/Paste or Ctrl+V / Smartphone: Keep tapping on the position to paste until a menu with the “Paste” function opens).
Share Link. If you select this, the address of the room is copied to the clipboard. It can then be copied into an e-mail or a messenger message (PC: Edit/Paste or Ctrl+V / Smartphone: Keep tapping on the position to paste until a menu with the “Paste” function opens).
If the invited person has no access data to the meet server and the room has been created publicly, she or he will be directed to the room as described in “How to access meet video conferencing?” in one of my previous blog posts.